How to Repair a Tent
How to Repair a Tent
(Fix Holes, Tears, and Rips Fast)
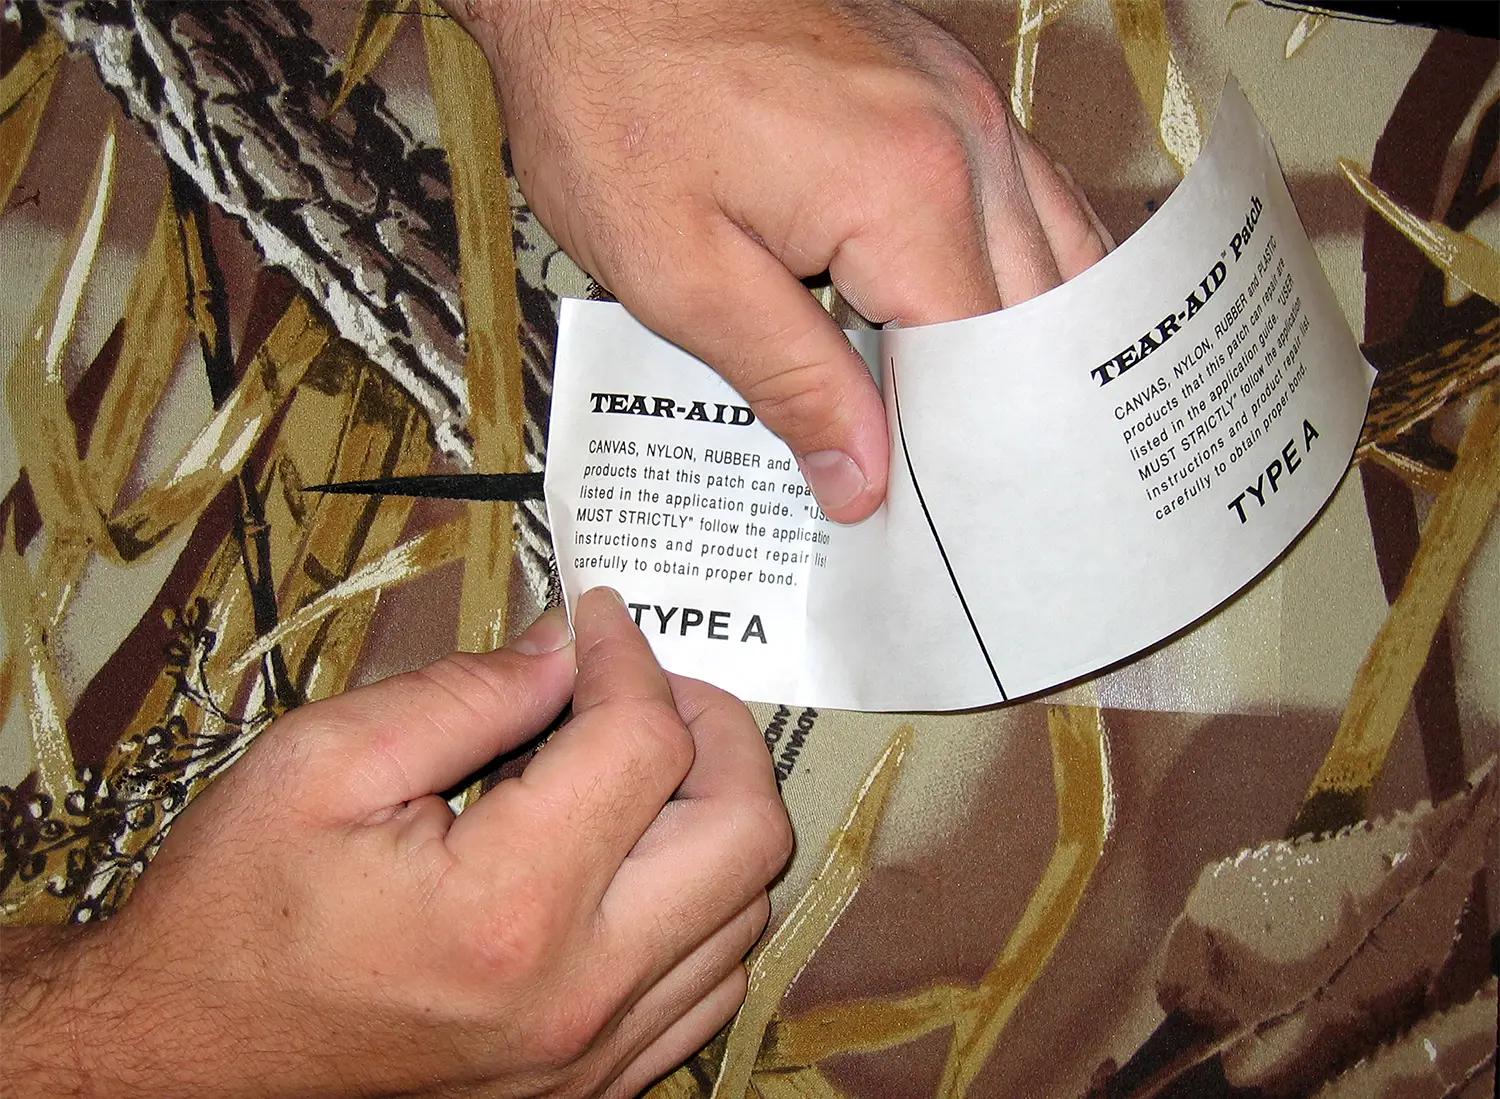
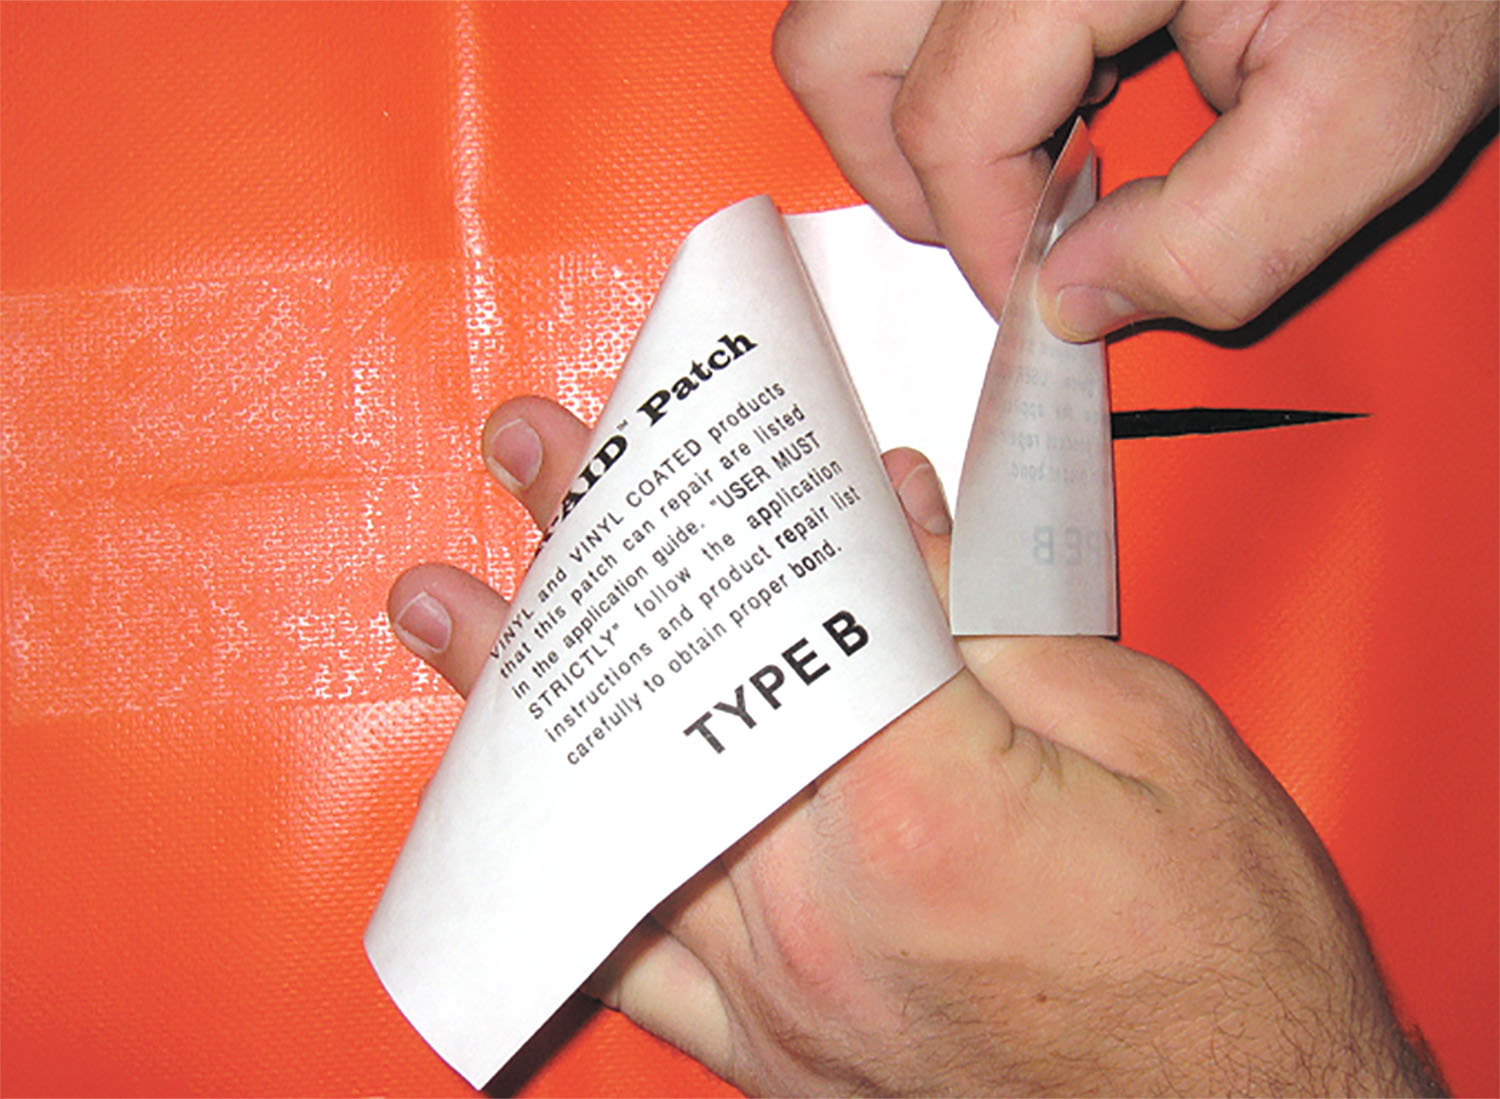
Repairing Fabric and Vinyl Tents
Repairing Fabric and Vinyl Tents
Common Tent Damage You Can Repair
How to Repair a Tent
Repairing your tent with Tear-Aid is simple and only takes a few minutes.
Step 1
Clean and dry the damaged area.
Step 2
Cut a patch that extends at least one inch beyond the tear and round the corners.
Step 3
Peel off the backing and apply the patch over the damaged area.
Step 4
Press firmly to remove air bubbles and ensure a secure bond.
Why Choose Tear-Aid
Better Than Traditional Repairs
Traditional repair methods often fall short in both durability and convenience. Sewing can create additional holes and compromise waterproofing, while glue-based kits are messy and require long drying times. Duct tape may offer a quick fix, but it tends to peel, dry out, and fail in outdoor conditions.
Tear-Aid eliminates these problems by delivering a fast, reliable, and long-lasting solution designed for real-world use.
Key Benefits:
- Instant application with no sewing required
- 100% waterproof and weather-resistant
- UV-resistant for long-lasting outdoor durability
- Flexible material that moves with your tent
- Clean, mess-free repair with no drying downtime
Make Repairs the Easy Way
Skip temporary fixes and choose a solution that lasts. Tear-Aid helps you repair your tent quickly and confidently—so you can get back to your adventure without delay.

Extend the Life of Your Tent